Understanding Window Tint Near Me
When it comes to improving your vehicle’s aesthetics, comfort, and protection, selecting the right window tint near me is crucial. This article dives into everything you need to know about window tinting, from its definition to the various types and benefits. Understanding each aspect can help you make informed decisions, ensuring that your vehicle meets both your personal style and practical needs.
What is Window Tinting?
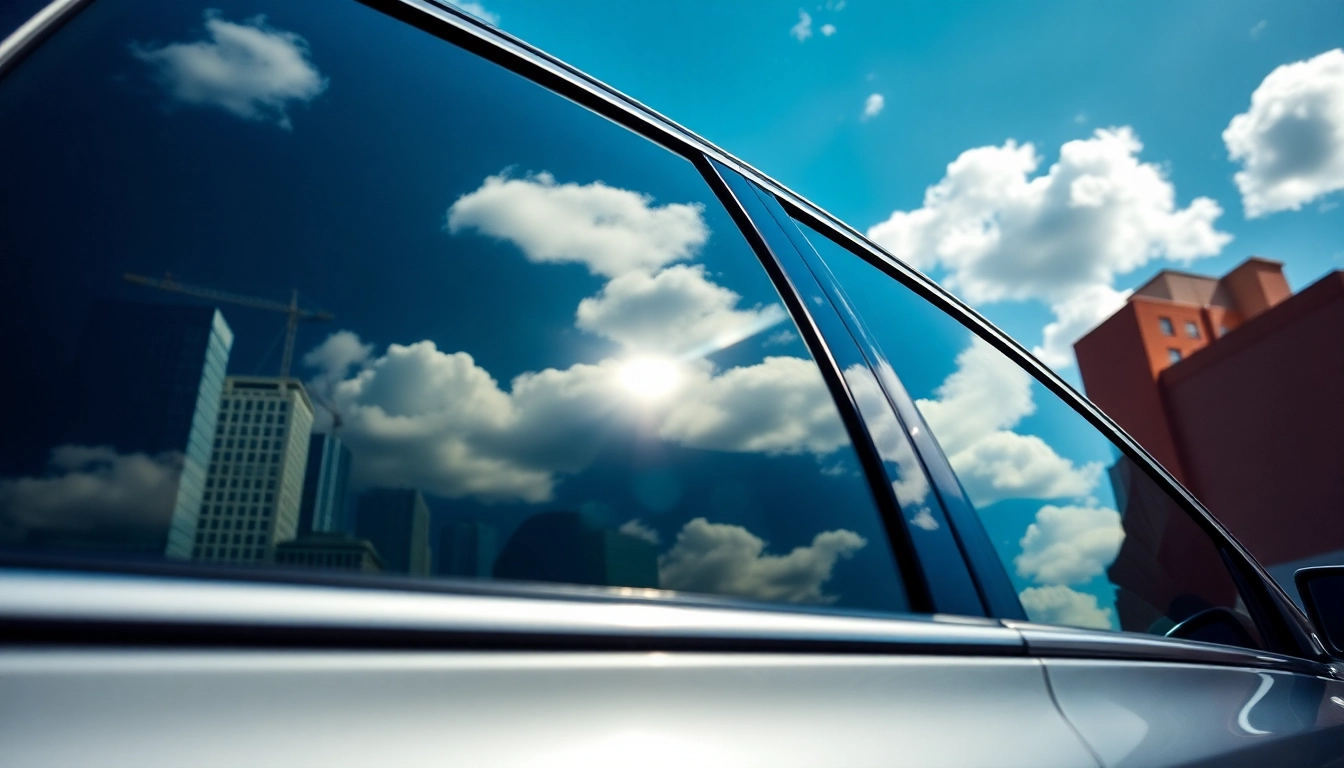
Window tinting involves applying a thin film to the interior or exterior of vehicle windows. This film comes in various shades and materials, providing significant functional and aesthetic upgrades. The application process typically demands precision and expertise to ensure that the tint is applied without bubbles, creases, or imperfections. A reputable professional usually handles these installations, enhancing your car’s appearance and functionality.
Benefits of Window Tint
Window tinting offers a wide range of benefits that cater to both comfort and safety:
- UV Protection: High-quality window films can block up to 99% of harmful ultraviolet rays, helping to protect your skin and prevent interior fading.
- Heat Reduction: Tinted windows can significantly lower the temperature inside your vehicle, keeping both you and your passengers comfortable, especially during summer.
- Privacy: Depending on the percentage of tint, your vehicle can gain enhanced privacy, making it harder for outsiders to see inside.
- Glare Reduction: Tints help minimize glare from the sun and headlights, improving driving visibility and safety.
- Aesthetic Appeal: Window tint adds a sleek and stylish look to your vehicle, which can enhance its overall resale value.
Common Types of Window Tint
Choosing the right type of window tint involves understanding the different materials available:
- Dyed Window Films: Typically the cheapest option, dyed films absorb heat and reduce glare but may not offer the best UV protection.
- Metalized Window Films: These films contain metal particles that reflect heat and UV rays. They provide excellent durability and privacy but may interfere with electronic signals.
- Carbon Window Films: Known for their aesthetic quality, carbon films don’t fade, block UV rays, and offer good heat rejection without interfering with electronics.
- Ceramic Window Films: The top-tier option, ceramic films offer the best heat rejection and UV protection without the drawbacks of metallic films. They are more expensive but tend to last longer.
Choosing the Right Window Tint Near Me
When choosing a window tint, several factors come into play to ensure you make the right decision. Here’s what to consider:
Factors to Consider When Selecting Tint
- Legal Regulations: Investigate your local laws regarding window tinting, as they can vary significantly between states.
- Desired Darkness: Determine how dark you want the tint to be; consider the implications for visibility and legality.
- Material Type: Factor in the pros and cons of different tint materials based on your needs and budget.
- Professional vs. DIY: Consider whether to hire a professional or attempt a DIY installation based on your skill level and the complexity of the project.
Cost Comparison and Budgeting
The cost of window tinting varies based on several factors, including the type of tint, the vehicle type, and the installation process. On average, professional installation can range from $200 to $600. If opting for a DIY approach, costs could be decreased significantly, typically falling between $30 and $150 for tint film. However, weigh the long-term benefits of professional installation against the initial cost savings to determine what suits your budget best.
Local Regulations Impacting Window Tint
Before installing window tint, it’s essential to understand your local regulations. Different states have specific laws regarding the allowable percentage of tint on various windows. Non-compliance can result in fines or the need to remove the tint, leading to additional costs. It’s prudent to check with local law enforcement or visit state websites to ensure that your chosen tint complies with local regulations.
Professional Installation vs. DIY
Deciding between professional installation and DIY for your window tint can impact both the final look and performance. Here’s a detailed look at both approaches.
Pros and Cons of Professional Tint Installation
Choosing professionals for installation has several clear advantages:
- Quality Assurance: Professionals possess the expertise needed to achieve a flawless finish.
- Warranty: Many professional installations come with warranties, protecting you from defects.
However, there are also some drawbacks:
- Cost: Professional installation can be significantly more expensive than DIY.
- Time: Finding the right service provider and scheduling an appointment may require time.
Tips for DIY Window Tinting
If you opt for a DIY approach, consider the following tips:
- Choose High-Quality Film: Invest in a high-quality window film for durability and effectiveness.
- Clean the Windows Thoroughly: Ensure that all dirt and residue are removed from windows before application.
- Use the Right Tools: Essential tools include a utility knife, a spray bottle with soapy water, and a squeegee.
Common Mistakes to Avoid
Familiarizing yourself with common pitfalls can enhance your DIY experience:
- Not Measuring Properly: Always measure your windows accurately to avoid misalignment.
- Applying Tint on a Hot Day: Extreme heat can lead to improper adhesion, resulting in bubbles.
- Neglecting to Pre-Cut the Film: Pre-cutting helps prevent mishaps during installation.
Maintaining Your Window Tint Near Me
Proper maintenance ensures your window tint remains effective and attractive for years to come. Here are essential care tips and troubleshooting measures to consider.
Cleaning and Care Tips
Exercising proper care will extend the life of your window tint. Here are some recommendations:
- Wait Before Cleaning: Allow the tint to cure for at least a week before cleaning, as it can take time to adhere fully.
- Use Gentle Cleaners: Choose ammonia-free cleaners to avoid damaging the film.
- Soft Cloths: Always use soft microfiber cloths to clean the tint without scratching it.
Addressing Common Issues
Some common concerns may arise after installation, including bubbles, peeling, or discoloration. Here’s how to address these issues:
- Bubbles: Small bubbles can often be smoothed out using a squeegee. If they persist, you may need professional assistance.
- Peeling Film: Regularly check your tint for signs of peeling, which may require replacement or reapplication.
- Discoloration: If the tint begins to fade, you may need to replace it, as this often indicates an inferior product.
Signs You Need a Tint Replacement
Be vigilant for signs indicating that your window tint might need replacement:
- Fading: A noticeable change in color means the film is degrading.
- Delamination: If the edges of the tint start lifting or bubbling, it’s time for a replacement.
- Scratches: Deep scratches can impair visual clarity and may require professional tuning or replacement.
FAQs About Window Tint Near Me
What is the lifespan of window tints?
Most window tints last between 5 to 15 years, depending on maintenance, environmental factors, and material quality.
Can I remove window tint myself?
Yes, but it requires patience. Use heat to loosen the adhesive, then peel slowly to avoid damage to glass.
What can I expect during installation?
Expect a thorough cleaning of your windows, proper measuring, and the application of the tint, which usually takes 2-4 hours.
Does window tint block UV rays?
Yes, high-quality window tints can block up to 99% of harmful UV rays, providing extra protection for passengers and car interiors.
Is window tint legal everywhere?
No, laws can vary widely by location. Always check local regulations to ensure compliance with tint percentages.